DODGE CARAVAN ENGINE BELT
I presume you have a service manual, though I may include brief pointers from it to make this advice more cohesive.
BELT COMING OFF
Some owners have had difficulty with the engine accessory drive belt popping off in heavy rain or snow - even carwashes with under-body spray, with the Chrysler 3.3/3.8 litre engine. The one vehicle I examined after it happened again showed noticeable but not severe uneveness of wear across the belt.
The Gates belt Technical Handbook has information on checking pulley alignment to prevent that. (The handbook is described in the belt catalogue. Gates' web site has a Timing Belt Replacement Manual with CD - replacement tips and belt p/ns, expect a U$35. price tag. Gates' web site also shows a laser alignment tool (p/n 91006 c/w glasses) that sits on one pulley and points at another. Refer to the Gates tool brochure for the laser and tensioner tools.
And it promotes tensioner designs to avoid binding. (I've been suspicious of mine, when the installed belt was slightly long and had less surface area due to cross-grooves (perhaps designed to reduce effect of water), and when it stuck partly retracted while reinstalling the belt. On removal to replace the alternator I purchased a new one, finding the old one to not fully extend (position of the mechanism relative to notch in housing, and the pointer).)
One recommendation to avoid belt coming off is to ensure there is a splash shield below the lowest forward pulley.
REMOVING/RE-INSTALLING THE BELT
You'll want a good tensioner tool for changing the belt - access is very tight and you need a long lever to apply torque to relieve tension.
Kit must have 15mm socket, not all do.
Extra would be a calibrated length of wood to hold the arm of the tool away from the firewall, while you fiddle with routing the belt. Less than a foot long, perhaps 1x3 nominal or 1x2 with a bit of notch in the end.
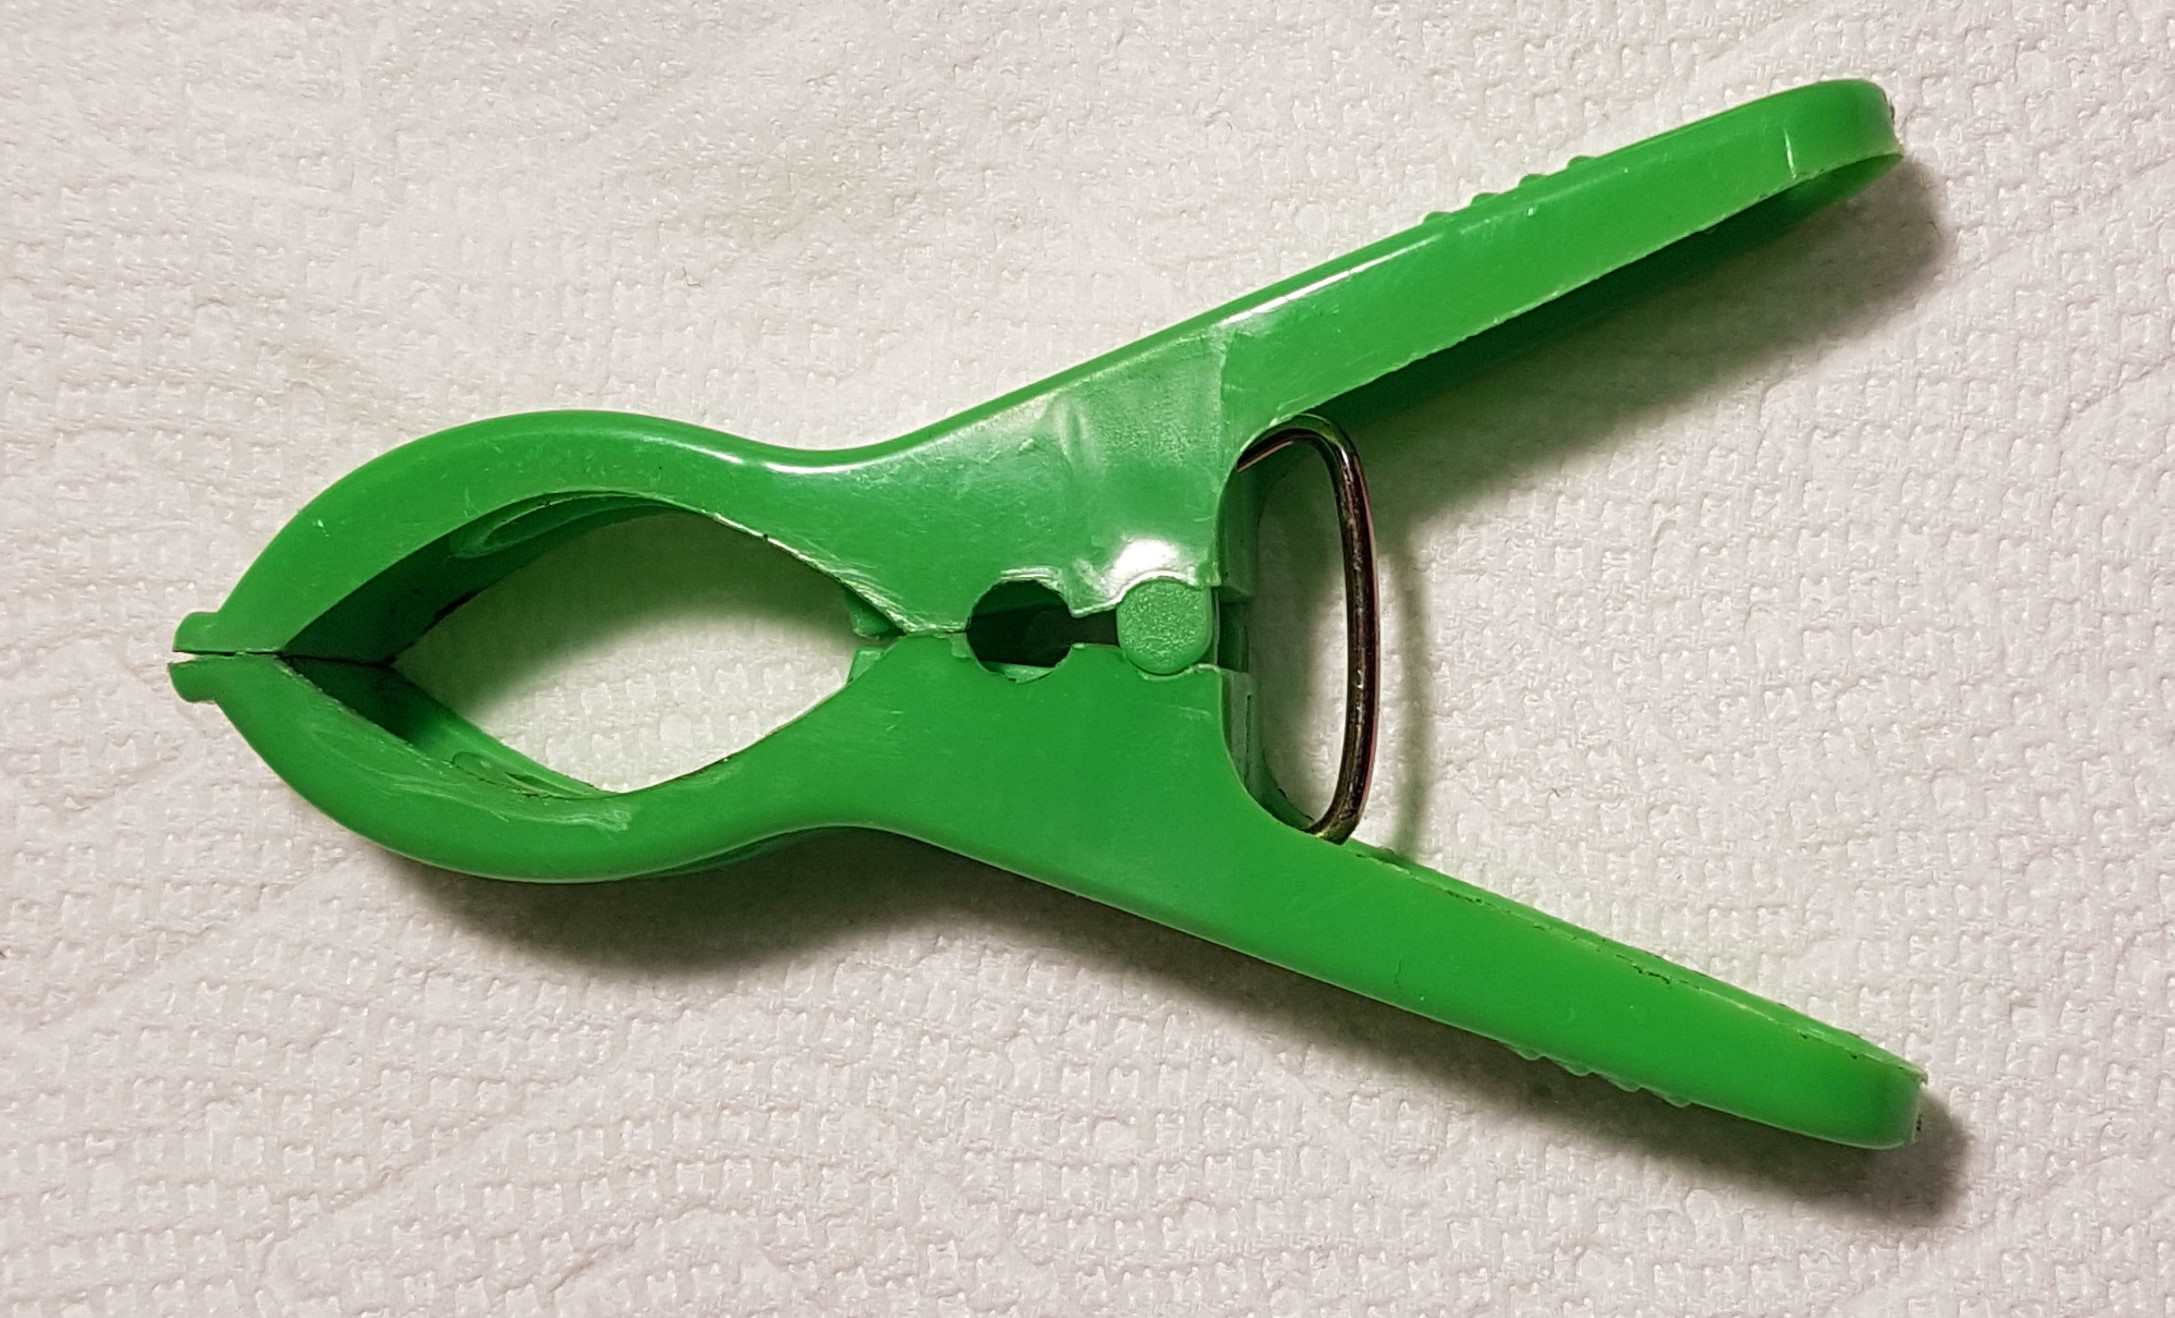
TENSIONER TOOL
A bent tool is best so the transmission computer does not limit rotation but you get a good lever arm.
Some tool kits sold for such work have a short bar extender that can be assembled at an angle to their longer bar, so it fits under the computer which projects from the firewall, with the long bar coming off it at an angle, to give more travel while still providing length for leverage. But most of those kits would need a 1/2" drive socket at the tensioner, which would be too long to fit between the tensioner nut and structure, especially with the badly placed clamp for a brake line reducing clearance! (I suppose you could carefully grind or saw the 1/2" square drive down to 3/8".)
The Lisle brand tool kit may be more versatile, but Lisle does not communicate well. It appears they use proprietary sockets, so best to buy the kit that comes in a case so you are less likely to lose one. One version has a ratcheting end wrench opening that you lock once you've positioned if for maximum travel. Another version appears to have two openings near the end that can go over a nut directly, otherwise over the bar end of special sockets. (Snap-On LIL59800 appears to be the same but they also do not communicate well, the do show a clear photo of the bars but not of the sockets.)
Great Neck Saw Mfg. Inc. (aka 'OEM Tools') kit 24687 has what appears to be two segments to the long bar, pivoted on each other, but is awkward to fix at angle you need (you can then ignore the stupid short extension with 1/2" drive). Design is intended to simply lengthen long bar, locking it with a ball-retained pin, hopefully can place bars at an angle and have pin restrain in the rotary direction you want. It is hard to obtain. The end of the segmented bar has a 3/8" drive, the extra bar the usual 1/2". The kit has a 15mm socket you need, and a few others but not 19mm some vehicles need. Website does not expplain how it works.
An extra is that some kits have a 19mm socket for Honda and Toyota, but the 24687 does not.
Kits should have extra-short sockets, useful on the Caravan with 3.3L engine (a typical flat-bar tool may fit with a regular 3/8" drive socket, depending in part on where the brake line clamp is on the frame, it's desirable to use a 12-point socket to maximize rotation within limits the tool can travel, whereas the cheap kit's shallow socket is 6 point.
OR you may be able to use a ratcheting box end wrench that has a bit of offset, and a piece of pipe to extend handle for leverage. (Squeeze end of pipe to oval so wrench open end fits it.) Tricky to keep wrench on idler bolt head, try to jam piece of wood between it and frame (with firm foam against frame for self-adjustment, attached to wood with aggressive double-side carpet tape). I have used that combination.
See for an A/C hose routing that can limit rotation, and my fix.
PROBLEM ON MY 93 is that brake line and clamp prevent even short 15mm socket on bar from going into place to engage idler. So removal of it (3/8" screw head - brakes on this beast are SAE not metric) and somehow drilling a hole to relocate will be necessary. I bent the line away enough to get at the idler, using very long plies from above, probably could just pull it down from below.
And the fuel lines from body to fuel rails get in the way of proper movement of the bar tool. You can disconnect the, using a 10mm open end wrench to push the ridge on bottom of joint against the large part that you push down on just to hold it against your upward push with wrench. Remember to put a bit of engine oil on them disconnects when reconnecting.
You might carefully bend fuel lines away from engine (they stick out a ways on 1993 1/2 installation).
Even then you want a segmented bar with two pieces angled to each other, because of the granularity of a 12-point socket, but see above re availability.
A non-ratchet 3/8 driver bar with tube slipped over it and a short 15 mm socket might work. I succeeded with a closed-end wrench with integral ratchet, with a tube slipped over the end (perhaps either short and slideable or long and bent to clear the computer), and a slim block of wood against frame to keep it against the idler.
THEN GET THE BELT IN PLACE
(You'll need the diagram from the service manual (memorize it, and of course recognize that ribs go against ribs, the back side of the belt against smooth pulleys), a stretchy sky hook would help - a string of elastic bands to take the weight of the belt to keep it up while wrapping it around each pulley, and some small clamps to hold it against lower pulleys. Plus whatever wrench is needed to get the splash shield off.
Beware you'll probably have to go under the vehicle to get the belt around the lower pulleys, so you need a jack and jackstand (preferable to a ramp as leaving more space to work from the side).
Hanging the top end of the belt up immediately after slipping off of the alternator pulley if that's what you are servicing could impede removing bolts for the big bracket, OTOH re-threading later is time-consuming - could it be hung to the front?
I recommend starting by hanging the belt on the tensioner pulley, then get it around everything else but laying above the idler.
(I now use small clamps to hold the belt to various pulleys, especially the crankshaft and power steering pump at the bottom.)
Then you can pull on the tensioner tool with one hand and with your other hand get the belt under the idler pulley. If tight, you can put something against the transmission computer/firewall to hold the tool forward, to have both hands on the belt.
(The driven pulleys have a lip on their edge and grooves, which makes it far more difficult to install a tight belt, and the newer plastic tensioner pulley does not have the generously rounded edge of the metal idler pulley which is easier to force the belt onto the metal idler pulley with less chance of damaging it. (Perhaps that helps prevent coming off from slush/snow.)
© Keith Sketchley Page version 2024.05.19.
Please advise Keith if any links don't work or have become inappropriate - the Internet changes.
Back to Keith's Caravan maintenance page.